Rumbly in my Tumbly has moved!
For my Cranberry Orange Glazed Scones recipe, please click on the link below:
I apologize for the inconvenience.


Rumbly in my Tumbly

 |

 |
 |
| Hearty slow cooker beef stew |
 |
 |
 |
| Basil Butter Garlic Bread |

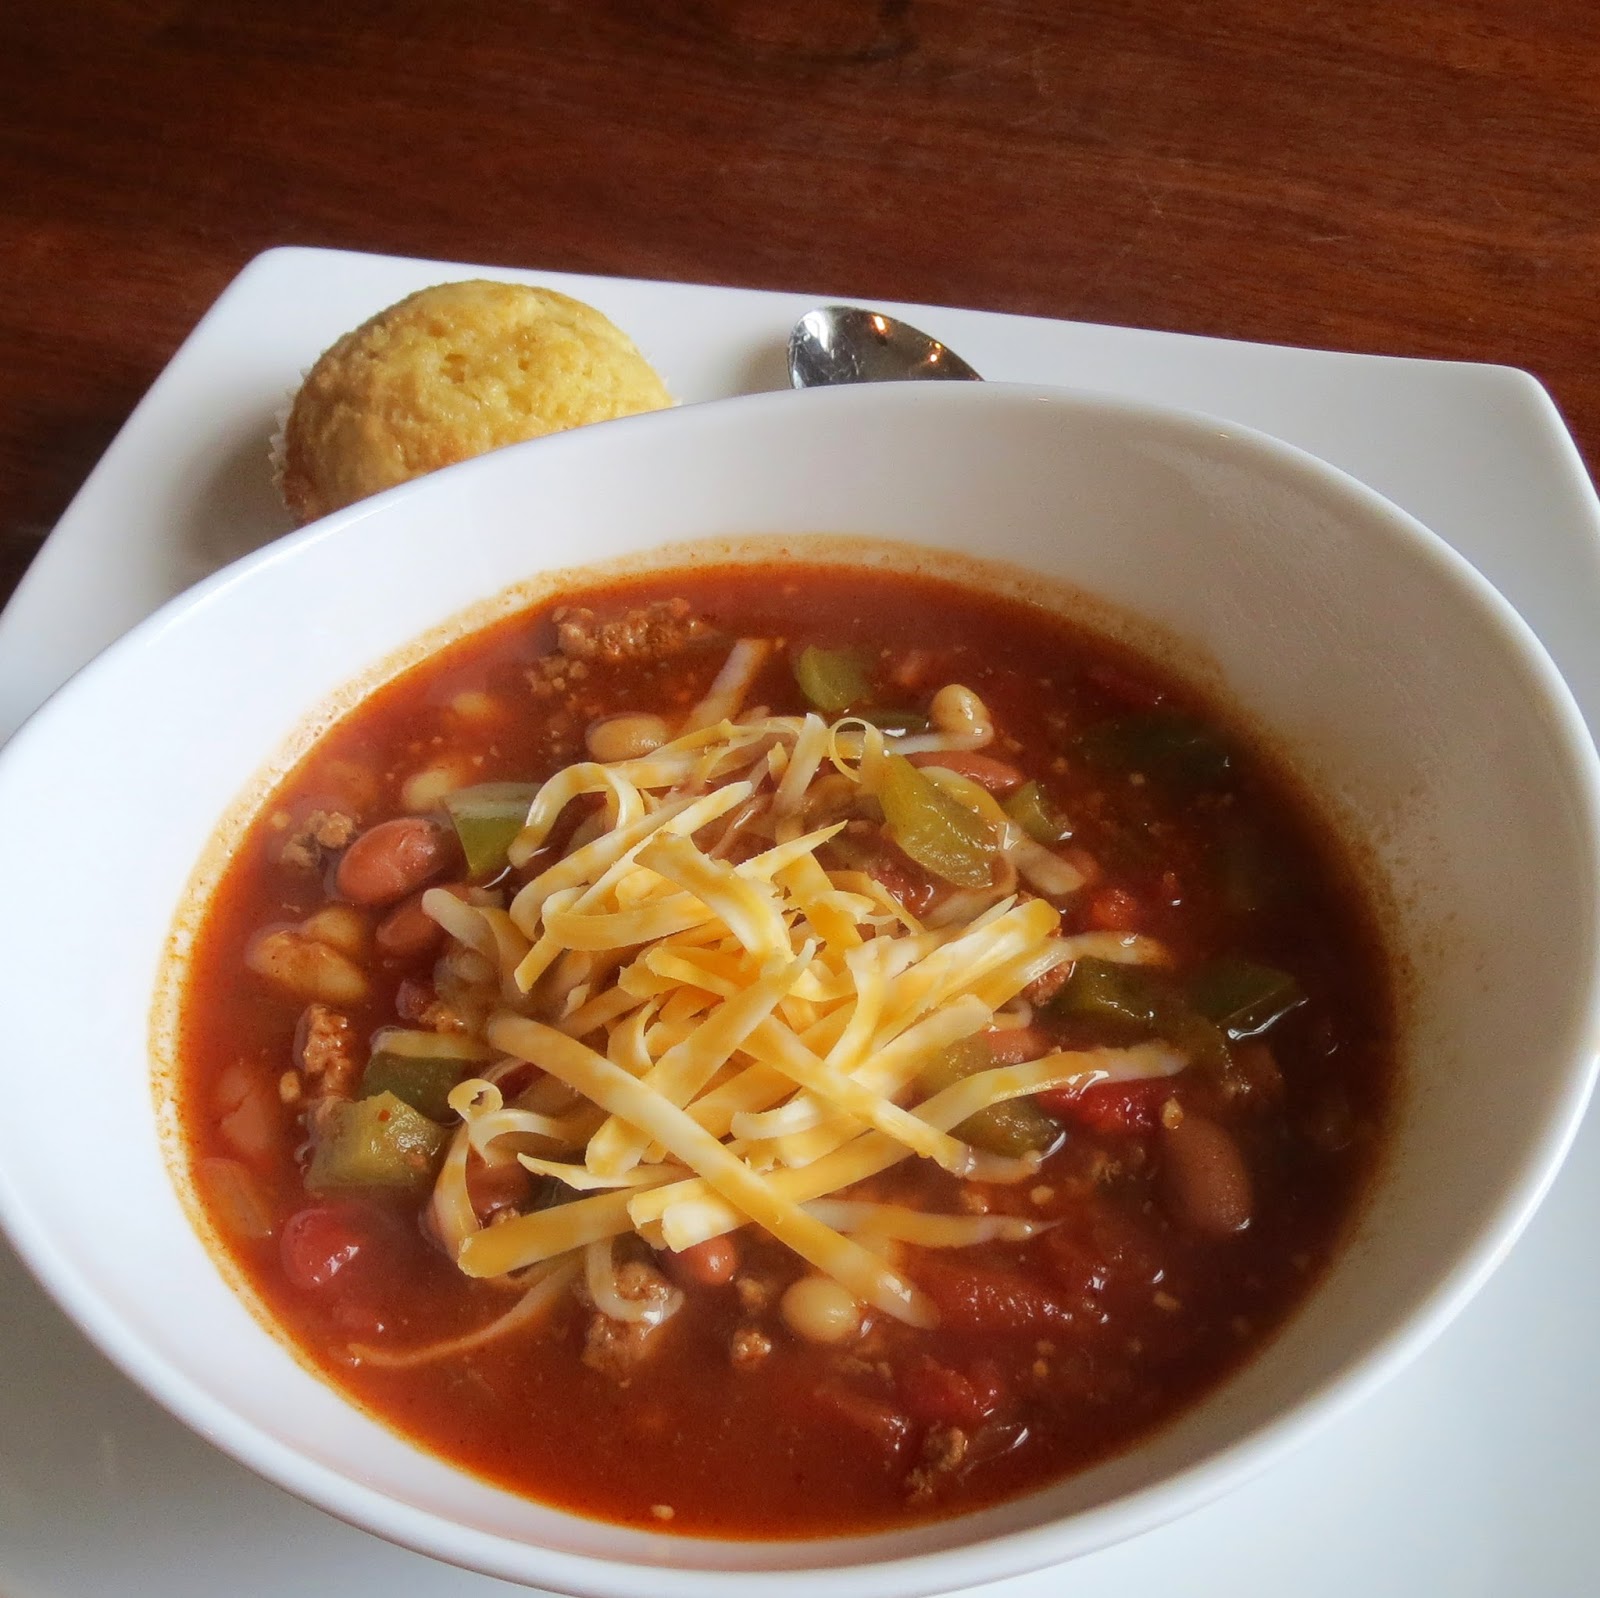 |
| Wendy's Style Chili |